
Template / Default Pass Data
Real passes combine template values with values that are unique to each pass. When you create passes, provide the unique values in the data file or use the sample data for a test pass.
Studio uses sample data to render the editor preview. New templates include sample data that you can edit or extend.
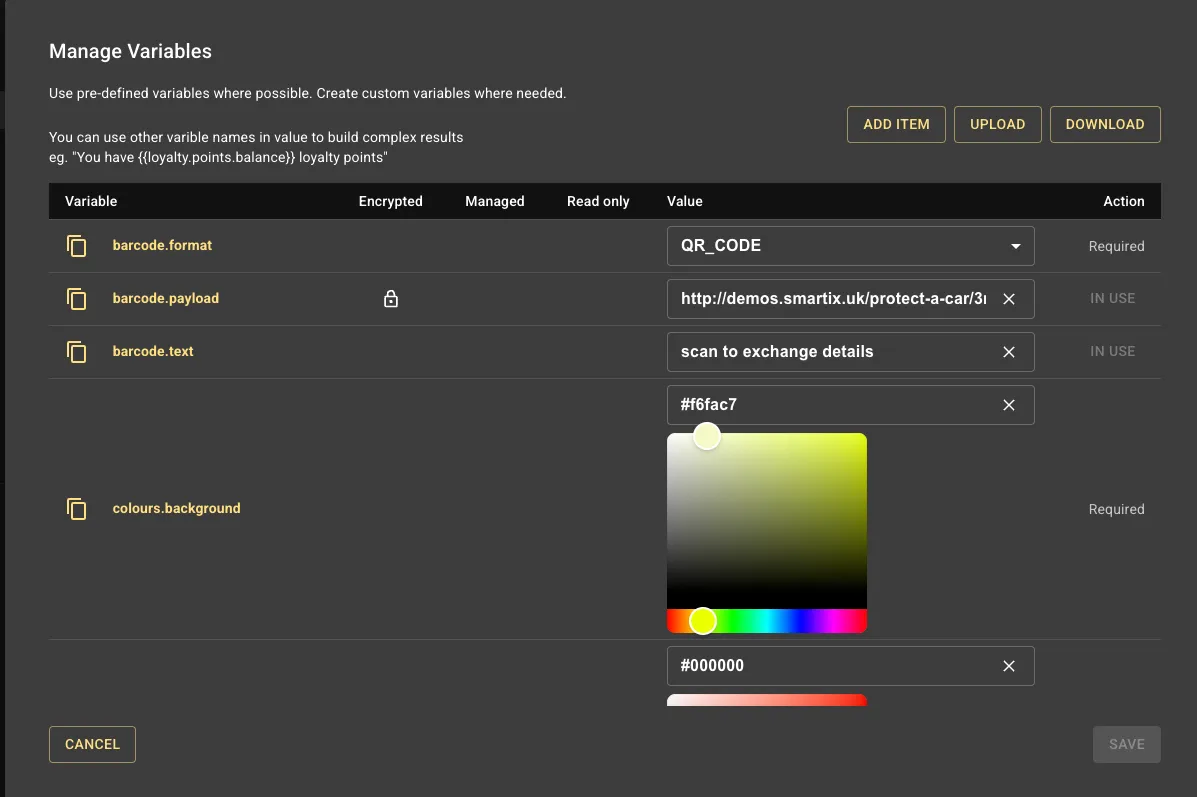
When you edit text fields, you’ll notice a button [MANAGE VARIABLES]. Clicking that will open the sample data editor.
The left panel shows a tree view of your data. The right hand panel has options to edit / add / delete data items.
Items marked as read-only or reserved are required by Smartix and cannot be removed. You can edit permitted sample values.
In the image above you can see named_drivers is highlighted. You should see that this item is indented and sits below an item called policy. You can confirm this by looking at the path field at the top of the edit box on the right : policy.named_drivers.
So, if you wish to use that value for a field, you will refer to it as {{policy.named_drivers}}. Of course, you don’t have to type that it, just select it from the list.
__pass_id__ is a reserved data item set by Smartix when the pass is created.
Adding items
Section titled “Adding items”To add a new data item, just select a parent. Instance data is the root node, so you can select that as the parent unless you need nested data. Click [ADD CHILD] in the edit panel. A new data item is created called newItem. Just overtype that name to set your own name.
You can give the new item a value by typing in the value text box.
Nested items
Section titled “Nested items”If you want to organise your data into logical groups, then you can do so. Start by creating an item that will represent the group (policy) in our example above. With that selected, click the [CONVERT TO BRANCH] button. You’ll now see that this item no longer has a value field, but instead has a child item called child1.
Rename that and give it a value. In our example above we’d renamed it to named_drivers and give it a value of Mr B M Other, Miss A Blossom.
To add further items, select the parent (policy) again and click [ADD CHILD].
Upload / Download
Section titled “Upload / Download”You can download a copy of the sample data as JSON, CSV or Excel, edit it locally and upload it again. Do not remove reserved or read-only fields.
When you are ready to create passes you will need to create a data file. This download will be a template for that.